WE BUILD THE
SOFTWARE THAT
POWERS BUSINESS.
We are your mobile and web developer partners who specialize in rapid prototyping, minimal viable product creation, project rescues, and developer mentorship.
Services
EXPERIENCE YOU CAN TRUST.
CREATIVITY TO INSPIRE.
We’ve built extraordinary web and mobile software products for clients for over 10 years. From start-ups to enterprise clients, Haught Codeworks consistently delivers.
Rapid Prototyping
We can build your minimal viable product (MVP), efficiently getting it into the hands of your customers as soon as possible.
- LEARN MORE

Project Rescues
If your project has gotten off track, we can help you fix it. It doesn’t matter how far things are from where they need to be. We can help.
- LEARN MORE
Mentorship
For companies looking to build a skilled development team, we can mentor new developers and get them up to speed quickly.
- LEARN MORE
Work
WE BUILD INNOVATIVE PRODUCTS
FOR YOUR CUSTOMERS.
From Ruby on Rails, Elixir, Javascript, and Ember.js to API-based services and mobile solutions, we’ve developed applications in a variety of domains centered in consumer and B2B web solutions.
Case Study:
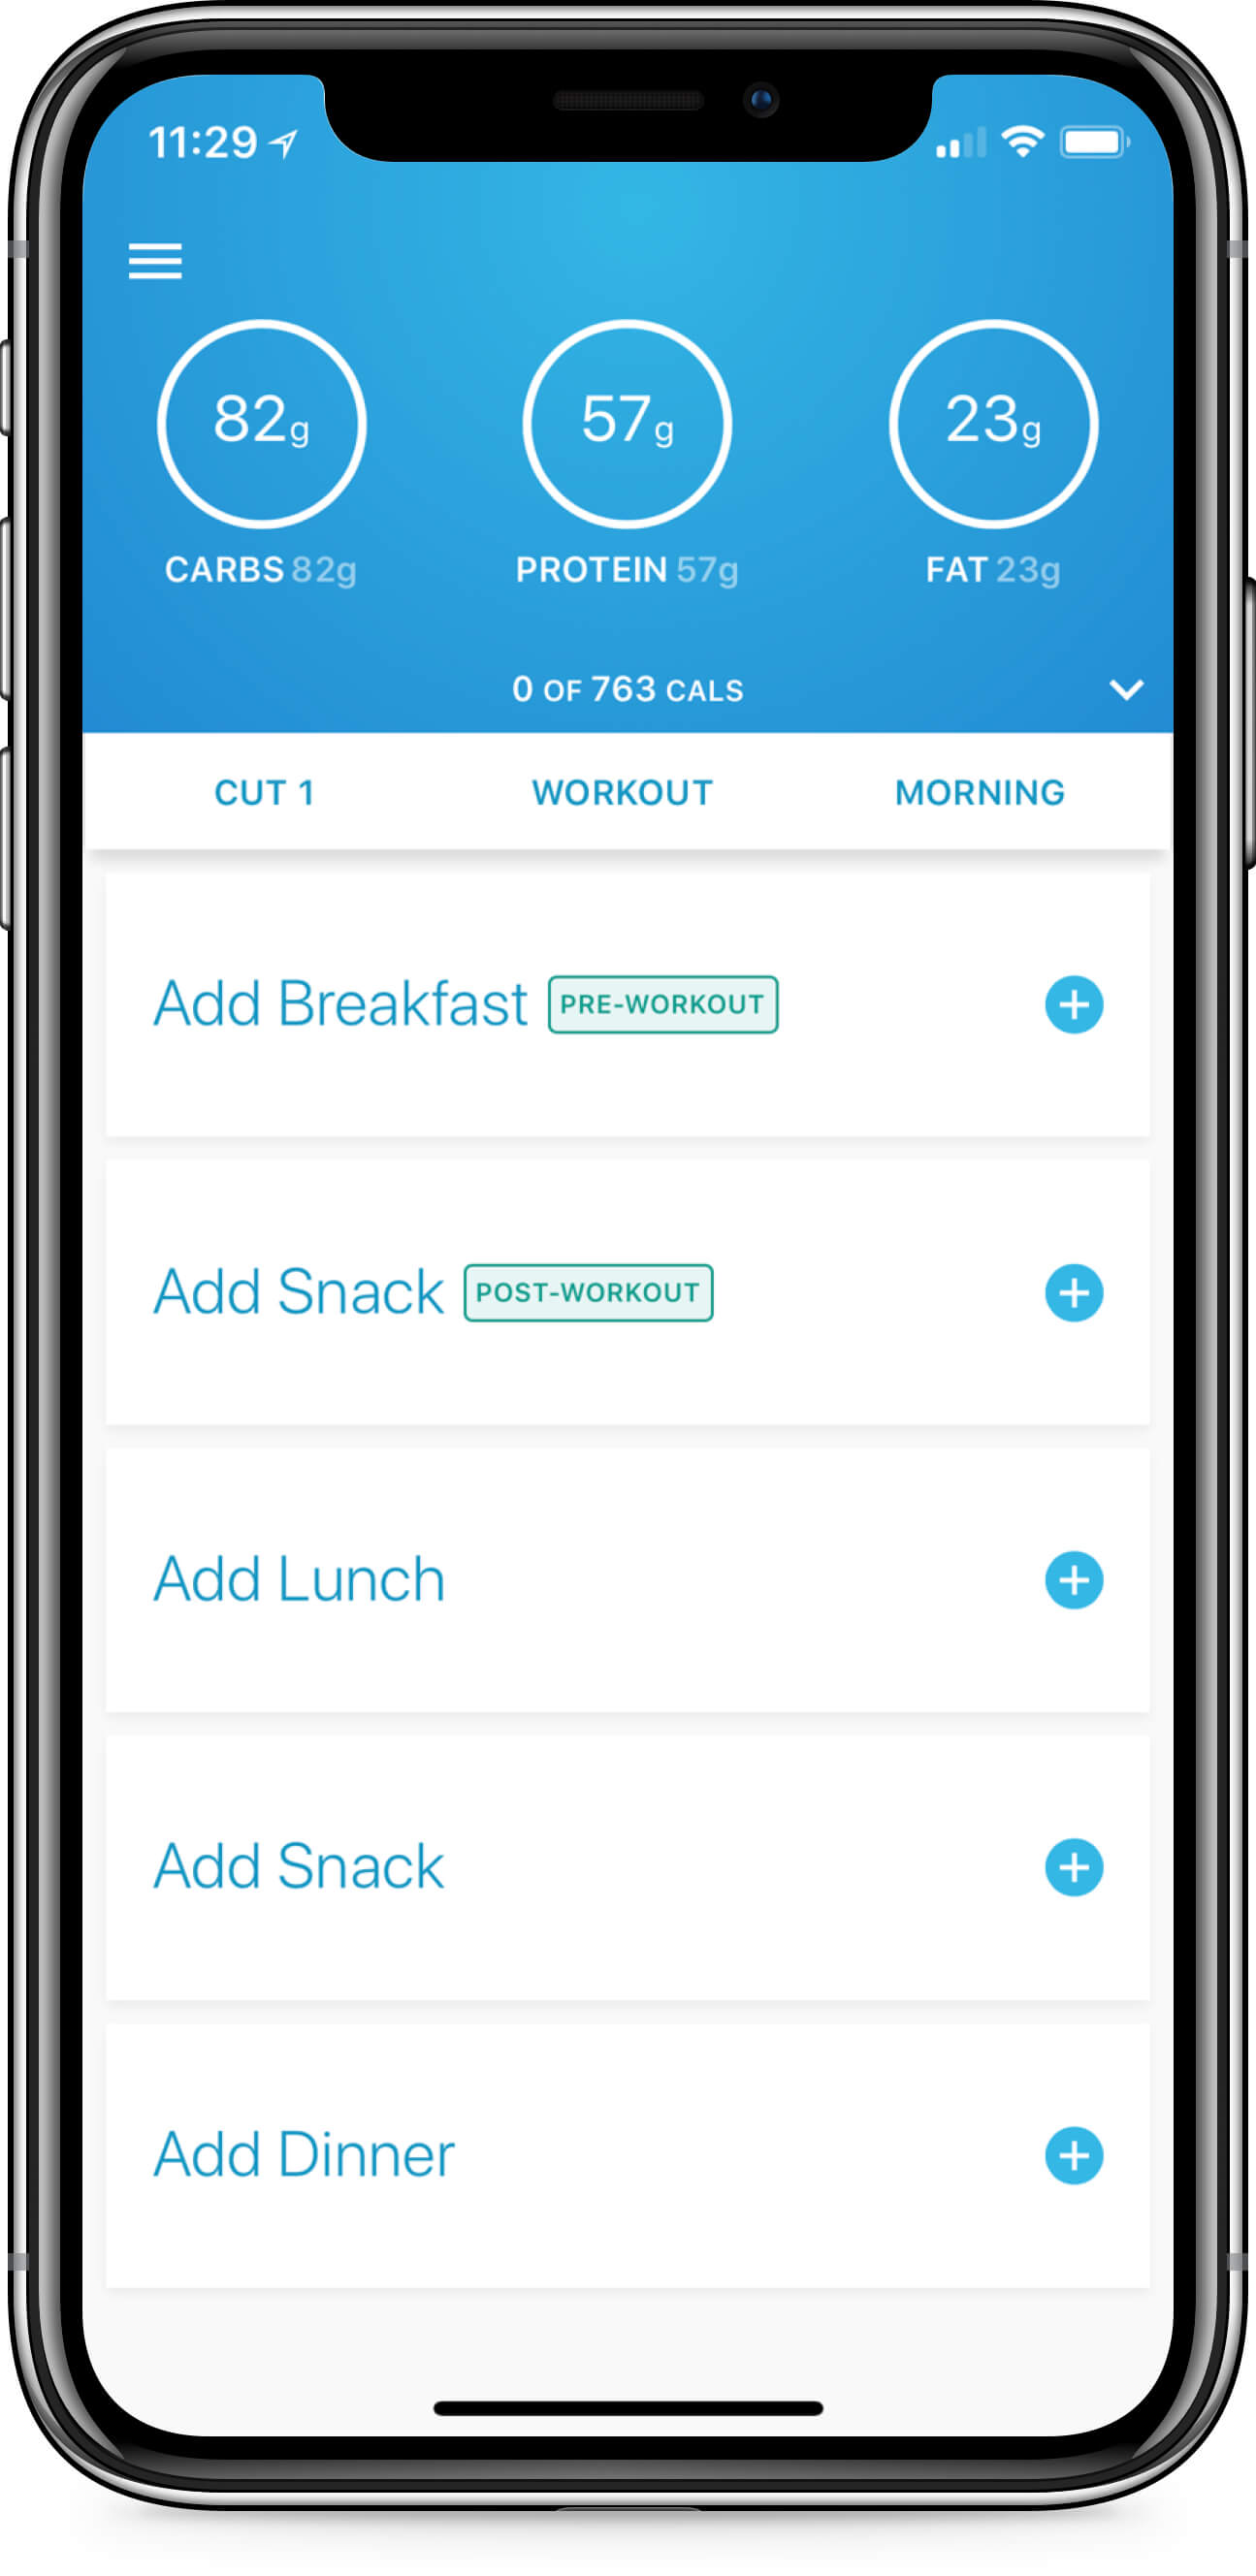
MacroStax
Macrostax nutritional app to teach clients what they should be eating at the macro-nutrient level, based on their goals. What makes Macrostax unique is the daily, personalized algorithm based on an individual’s stats, activity level, and objective.
When I found Haught… it just definitely was a completely different experience than I had with the previous agency. My confidence level in Macrostax has improved 100%. This newer version makes me really excited for the future.
Lindsey Love Jenks
,
Founder & CEO
Process
PROCESS BORN
OUT OF EXPERIENCE.
We use small cross-functional teams and a lean process born out of our experience building software over the last three decades. We focus on rapid prototyping and creating minimum viable products that allow us to gather feedback quickly. We look to understand not just the what but the why of your software product needs, and tailor our technical implementation to match.
Tell us about your project
Let’s build something great together! We take great joy in building fantastic software solutions with our clients. We can’t wait to help you get where you want to go.